Blenderでテクスチャを貼る作業、意外と手順が多くて大変ですよね。
今回は、AIでテクスチャを作り、BlenderではPythonで一発セットする方法を紹介します。最後にUVを少し調整して、正面だけに自然に貼れるところまで再現します。
▼ドアのテクスチャ生成プロンプト(動画 00:39~)
▼Pythonコード(動画 02:00~)
目次
Claude(クロード) は、アメリカのAI企業Anthropic(アンソロピック)社が開発したAIアシスタント(対話型生成AI)です。
今回はこのClaudeを使ってBlenderを操作していきます。
BlenderMCPは、BlenderとClaude(AIアシスタント)をつなげるためのツールです。
準備するものは4つあります。
まずはBlender(https://www.blender.org/)をインストールします。
▼インストール方法は以下の記事で解説しています
Blenderのインストール手順
次に、Claude(クロード)のデスクトップ版をインストールします。
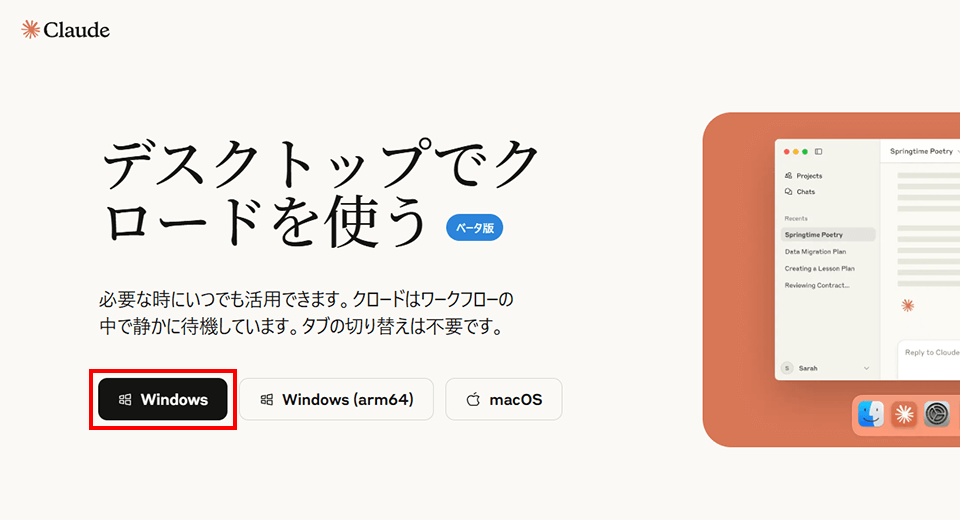
以下のサイトにアクセスします。
https://claude.ai/download
「Windows」もしくは「MacOS」のボタンをクリックして、自分のOSに合わせてダウンロードします。
次に、BlenderMCPをダウンロードします。
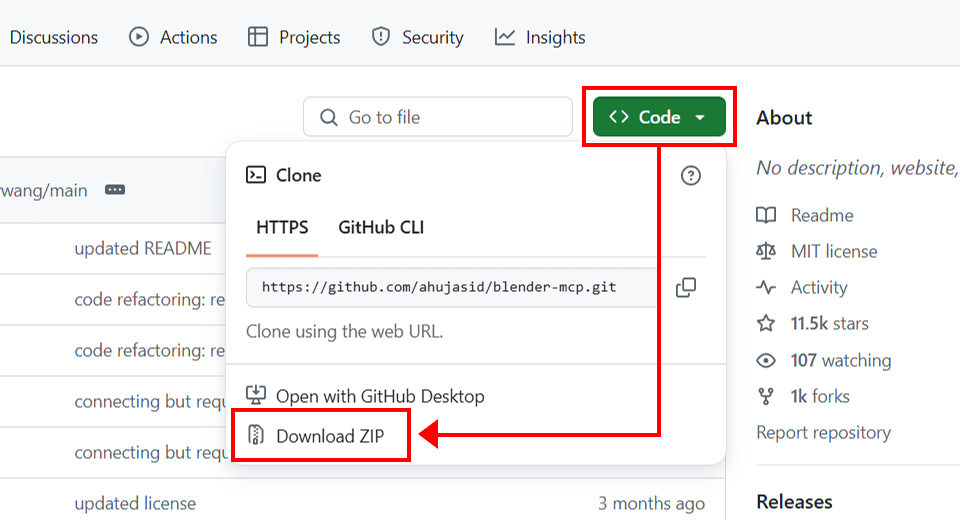
以下のGitHubページにアクセスします。
https://github.com/ahujasid/blender-mcp
右上にある緑色の「Code」ボタンをクリックして、「Download ZIP」を選び、ダウンロードします。
ダウンロードしたzipファイルを、右クリックして「すべて展開する」を選択し、フォルダを展開します。展開したフォルダ(blender-mcp-main)は後ほど使います。
次に、Pythonとuvをインストールします。
Pythonの公式サイト(https://www.python.org/downloads/)にアクセスして、「Download Python」ボタンをクリックします。

ダウンロードした.exeファイルをダブルクリックして、Pythonをインストールします。
次に、uvをインストールします。
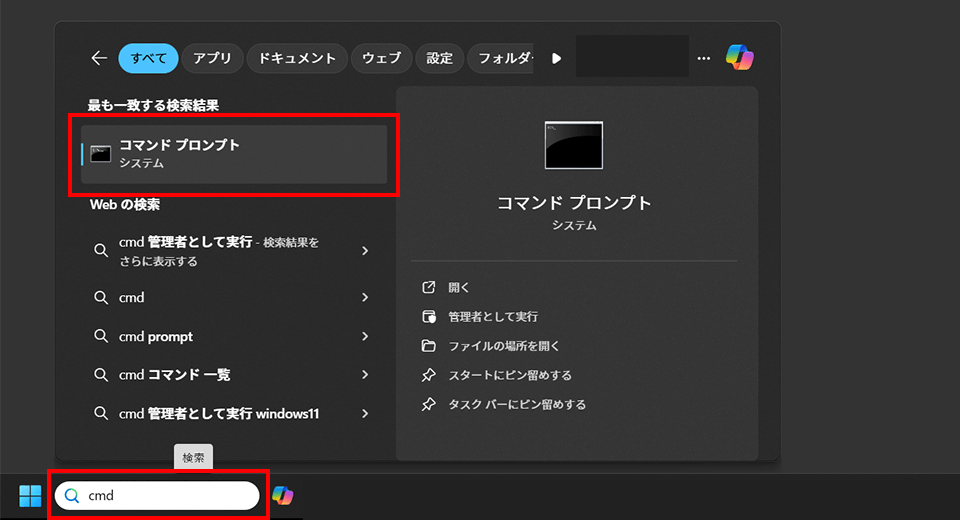
(Windowsの場合)左下にある検索ボックスに「cmd」と入力して、「コマンドプロンプト」を開きます。
コマンドプロンプトに以下のコマンドをコピペして、Enterキーを押します。
powershell -ExecutionPolicy ByPass -c "irm https://astral.sh/uv/install.ps1 | iex"これでuvのインストールは完了です。
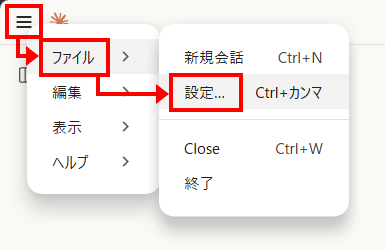
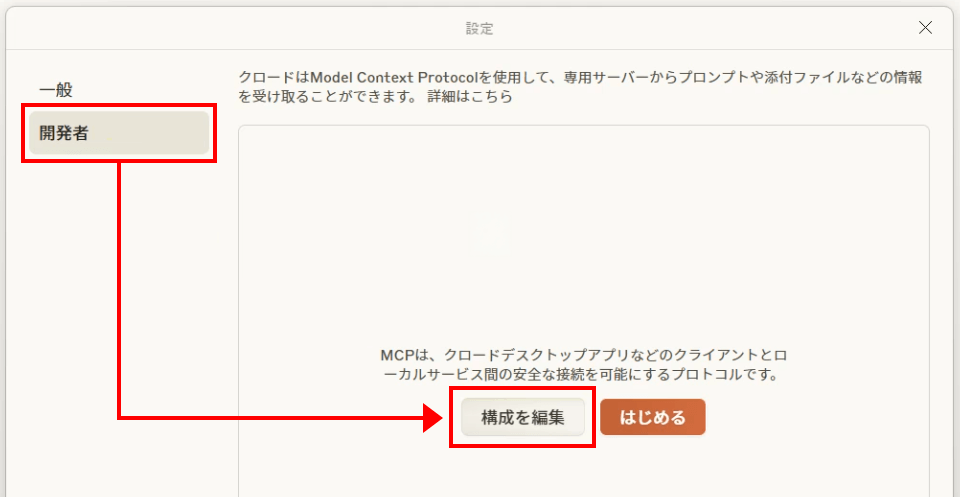
左上の3本線のアイコンをクリックして、「ファイル」 > 「設定」を開きます。
「開発者」 > 「構成を編集」をクリックします。
「claude_desktop_config.json」に、以下のコードをコピペして保存します。
{
    "mcpServers": {
        "blender": {
            "command": "uvx",
            "args": [
                "blender-mcp"
            ]
        }
    }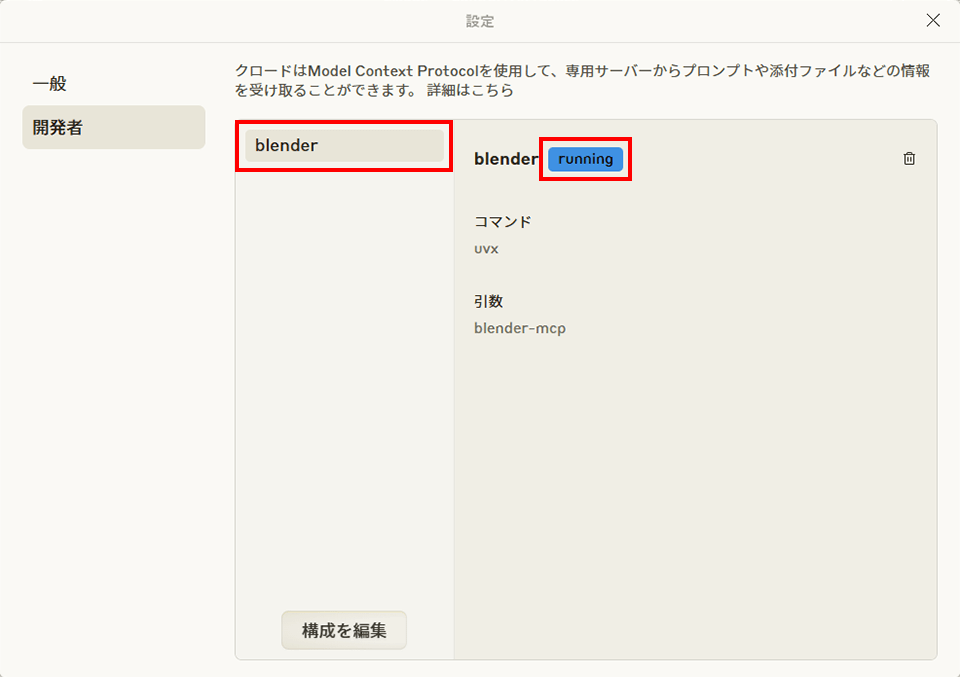
}一度Claudeを再起動して、開発者を開きます。blenderを選択し、「running」の表示があれば、設定が成功しています。
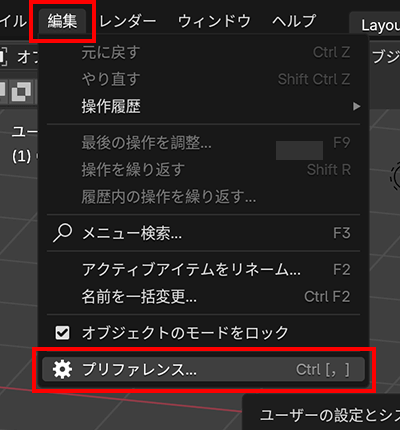
「編集」 > 「プリファレンス」を開きます。
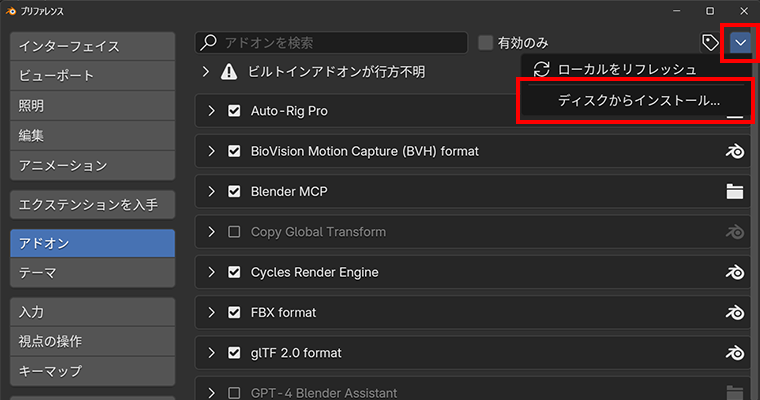
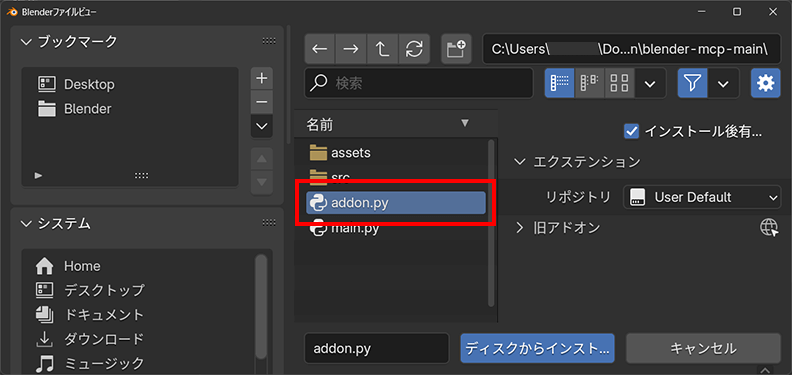
「アドオン」を開いて、右上にある「下矢印」 > 「ディスクからインストール」をクリックします。
最初に展開しておいた「blender-mcp-main」フォルダを開いて、その中にある「addon.ph」を読み込みます。
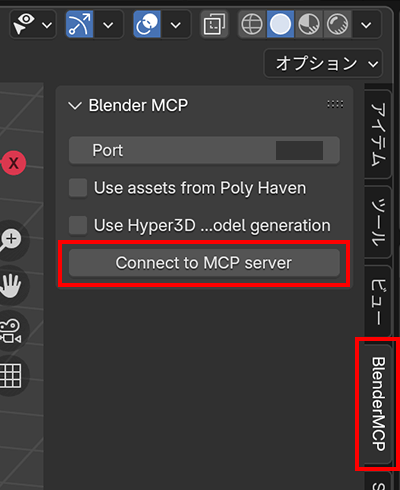
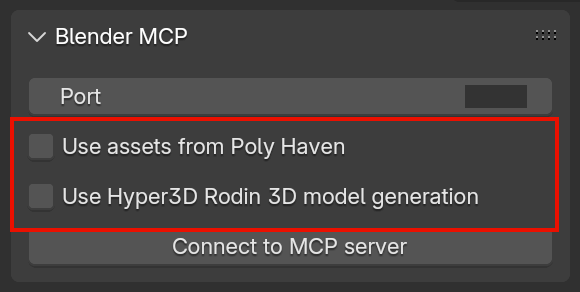
Blenderのサイドバーを開いて、「BlenderMCP」タブを選択し、「Connect to MCP server」をクリックします。
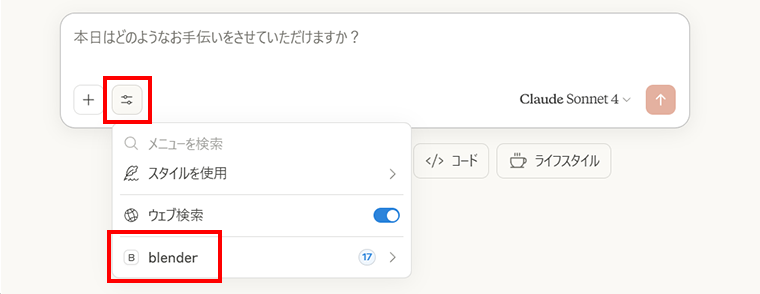
Claudeのチャット欄の左下にあるアイコンをクリックして、一番下に「Blender」の表示があれば、連携がうまくいっています。
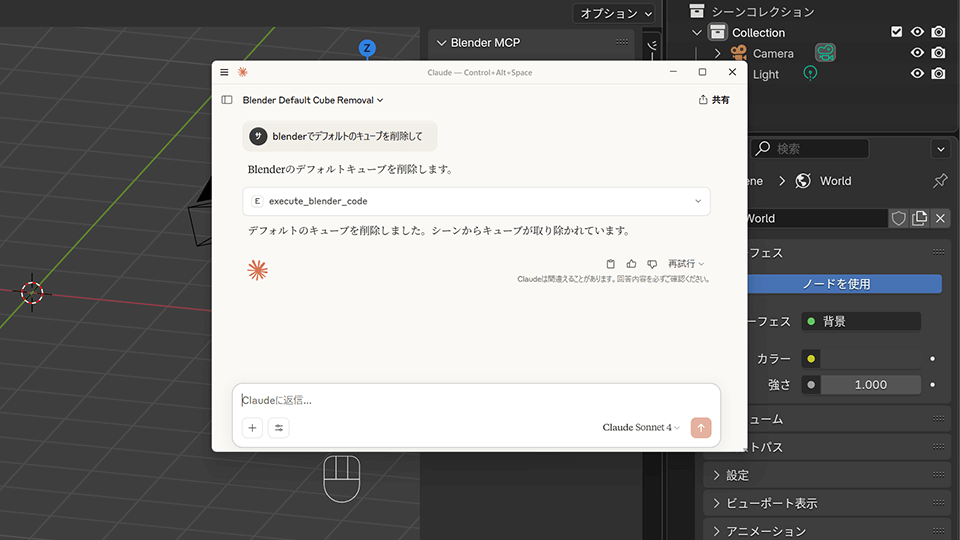
実際にClaudで指示を出して、Blenderを動かしてみましょう!
Blender MCPのメニューバーにある便利な機能についてご紹介します。
 サルでもわかるBlender